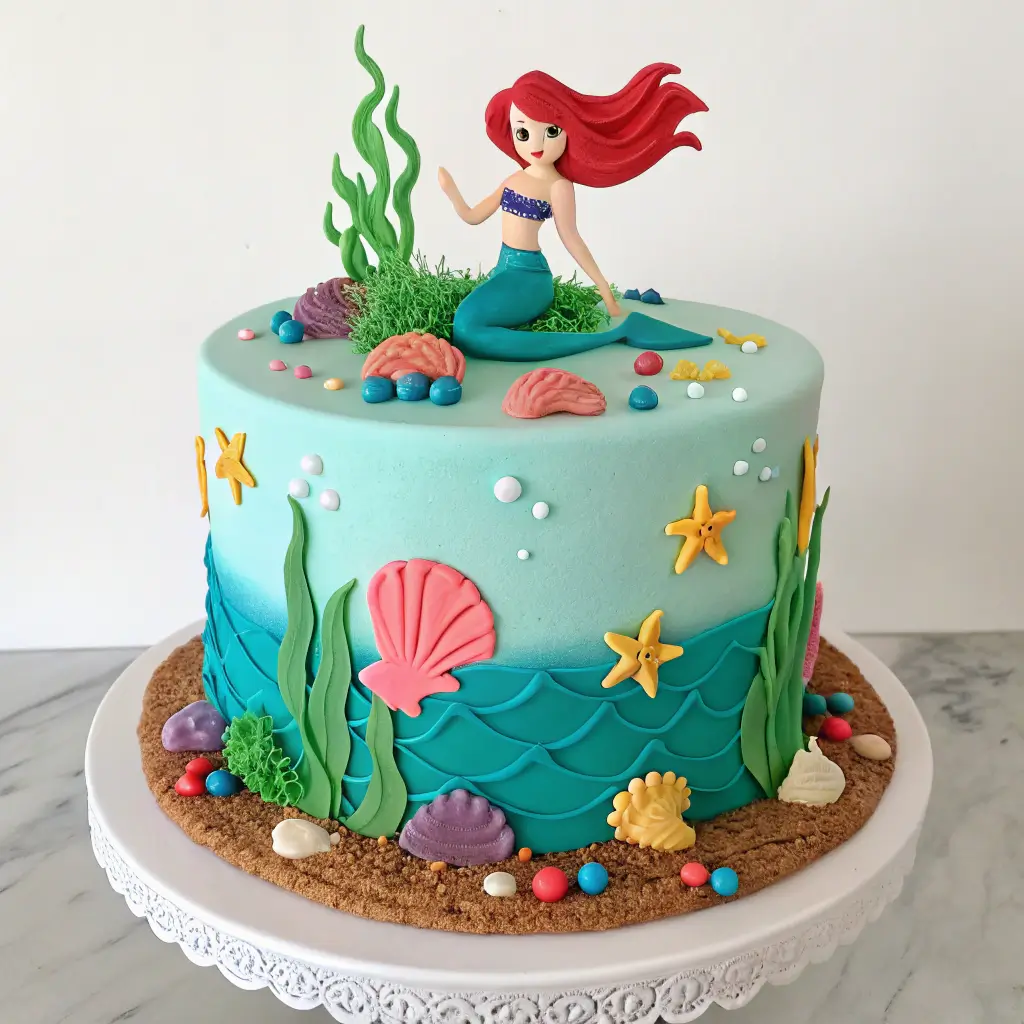
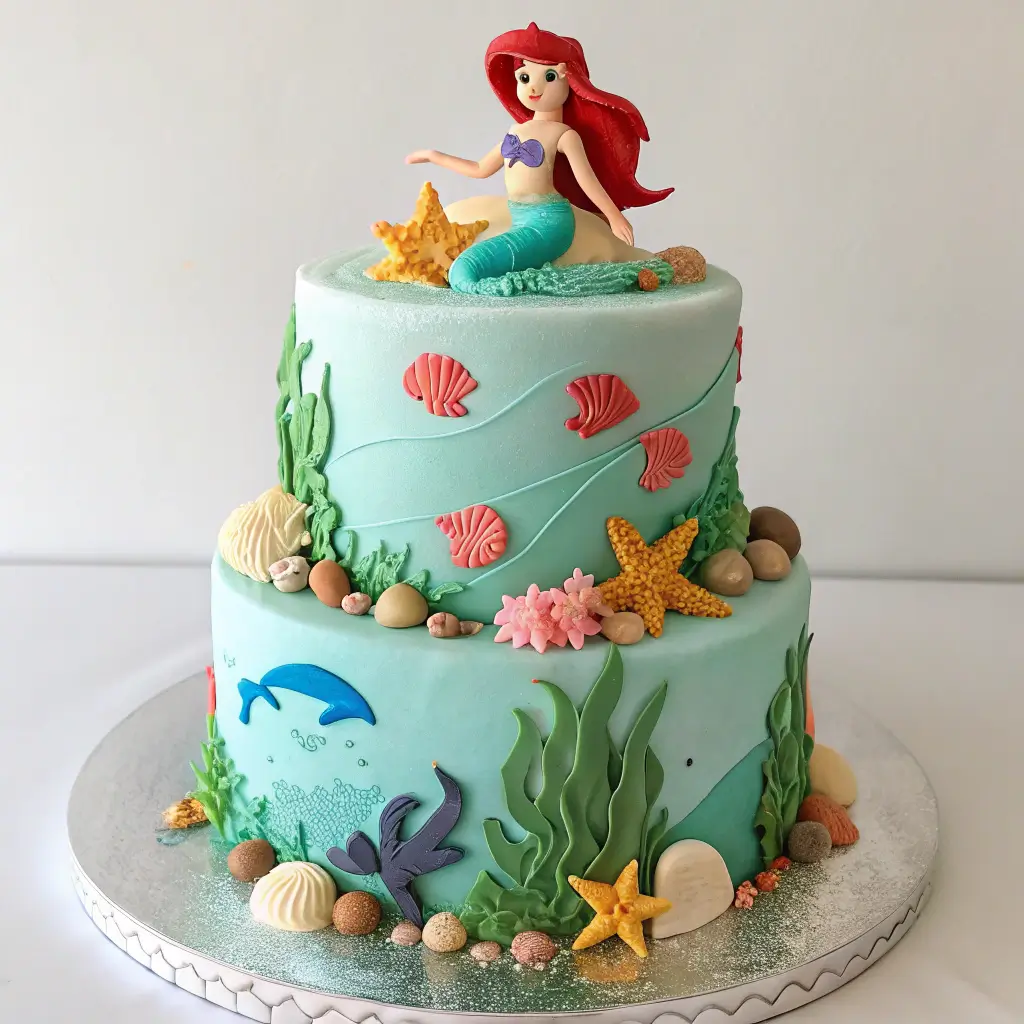
Get ready to dive into a sea of sweetness with this enchanting Ariel Little Mermaid birthday cake! This delightful treat features layers of fluffy vanilla and ocean-blue buttercream, all topped with shimmering edible glitter and whimsical sea-themed decorations. You’ll love how easy it is to whip up a cake that looks like it swam straight out of the ocean! With a splash of creativity and a sprinkle of love, this cake will make your celebration truly magical. Let’s make some waves and create unforgettable memories together!
Table of Contents
Why You’ll Love This Recipe
- Trust me, you’re going to love this stunning design that brings Ariel to life!
- This one’s a game-changer for any mermaid-themed party—your guests will be wowed!
- Easy-to-follow steps make baking a breeze, even for beginners!
- Delicious flavors that everyone will enjoy, no matter their age!
- Customize it with your favorite colors and decorations for a personal touch!
Recipe Snapshot
| Feature | Details |
|---|---|
| Category: | Birthday Cake |
| Cuisine: | American |
| Prep Time: | 30 minutes |
| Cook Time: | 25 minutes |
| Total Time: | 55 minutes |
| Dietary: | Nut-free |
| Serves: | 12 slices |
| Best Served: | At room temperature |
Ingredients

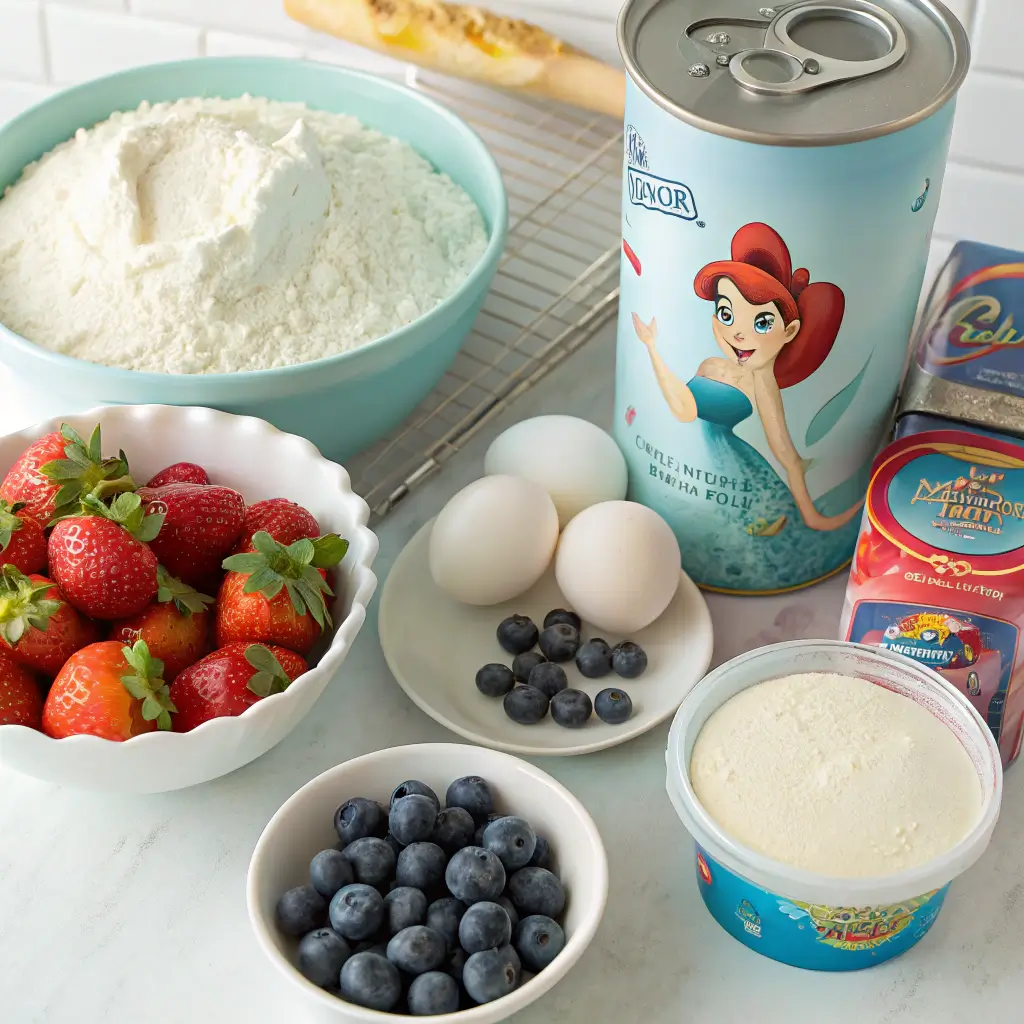
- All-purpose flour – a key base for your cake, providing structure.
- Sugar – sweetens the cake and helps with moisture.
- Baking powder – ensures your cake rises perfectly.
- Salt – enhances the flavors of the other ingredients.
- Unsalted butter – adds richness and moisture to the cake.
- Eggs – binds the ingredients together and adds moisture.
- Milk – keeps the cake moist and adds flavor.
- Vanilla extract – adds a lovely aroma and flavor.
- Food coloring – for creating vibrant mermaid-themed colors.
- Buttercream frosting – for decorating and adding sweetness.
- Edible glitter – for a magical touch on your cake.
- Fondant – for creating decorative elements like Ariel and sea creatures.
Ingredients with measurements will be right under the article in the recipe card.
How to Make the Recipe
Gather your ingredients and tools to embark on this magical baking adventure!
Step 1: Preheat the Oven
Set your oven to 350°F (175°C) and let it warm up while you prepare the batter.
Step 2: Prepare the Cake Batter
In a large bowl, mix 2 cups of all-purpose flour, 1 ½ cups of sugar, 1 cup of unsalted butter, and 4 eggs.
Step 3: Add Flavor
Stir in 1 cup of milk, 2 teaspoons of vanilla extract, and a pinch of salt for a delightful taste.
Step 4: Color the Batter
Divide the batter into three bowls and tint one blue, one green, and leave one plain for ocean waves!
Step 5: Layer the Batter
In a greased cake pan, alternate pouring the colored batters to create a beautiful layered effect.
Step 6: Bake the Cake
Place the pan in the oven and bake for 25-30 minutes, or until a toothpick comes out clean.
Step 7: Cool the Cake
Once baked, let the cake cool in the pan for 10 minutes, then transfer it to a wire rack.
Step 8: Make the Frosting
In a bowl, beat 1 cup of unsalted butter with 4 cups of powdered sugar and 2 tablespoons of milk until fluffy.

Step 9: Color the Frosting
Divide the frosting into three bowls and color one blue, one green, and leave one white for the waves.
Step 10: Frost the Cake
Spread the blue frosting on the top and green on the sides, creating an ocean-like appearance.
Step 11: Decorate with Toppers
Add Ariel-themed decorations like edible pearls, seashells, and little mermaid figures for a magical touch!
Step 12: Serve and Enjoy!
Slice the cake, serve it to your guests, and watch their faces light up with joy!
Pro Tips for Making the Recipe
Use gel food coloring for vibrant, ocean-inspired hues.
Chill your cake layers before frosting to prevent crumbs from mixing in.
Consider using a silicone mold for fun sea-themed decorations.
Opt for a buttercream frosting for easy sculpting and a delicious taste.
Don’t rush the decorating; take your time to create an enchanting undersea scene.
How to Serve
- Pair with ocean-themed cupcakes for a sweet spread.
- Serve with colorful fruit skewers for a refreshing touch.
- Offer a side of whipped cream for extra indulgence.
- Include a mermaid tail cookie for a fun treat.
- Complement with a sparkling blue lemonade for a magical drink.
- Set up a DIY ice cream bar for a delightful dessert option.
- Use themed plates and napkins to enhance the presentation.

Make Ahead and Storage
To ensure your Ariel Little Mermaid birthday cake stays fresh and delicious, follow these simple storage tips.
Storing Leftovers
– Allow the cake to cool completely before storing.
– Wrap individual slices in plastic wrap.
– Place wrapped slices in an airtight container.
– Store in the refrigerator for up to 3 days.
Freezing
– Wrap the entire cake tightly in plastic wrap.
– Place the wrapped cake in a freezer-safe container.
– Label with the date and type of cake.
– Freeze for up to 3 months for best quality.
Reheating
– Thaw the cake in the refrigerator overnight.
– For individual slices, microwave for 10-15 seconds.
– Avoid overheating to maintain texture.
– Enjoy at room temperature for the best taste.
FAQs
Here are some common questions about making the Ariel Little Mermaid birthday cake!
Can I use a different flavor for the cake?
Absolutely! Feel free to experiment with different cake flavors like chocolate, vanilla, or even lemon. Just make sure to adjust the baking time if you’re using a denser cake. “ariel little mermaid birthday cake”
What can I use instead of fondant for decorations?
If fondant isn’t your thing, you can use buttercream or royal icing for decorating. They can be shaped and colored to create beautiful ocean-themed designs!
How do I store the cake after baking?
Once your cake is baked and cooled, wrap it tightly in plastic wrap and store it in the refrigerator. It can stay fresh for up to a week, or you can freeze it for longer storage. “ariel little mermaid birthday cake”
Can I make this cake ahead of time?
Yes, you can bake the cake a day or two in advance. Just make sure to frost it closer to the party time for the best presentation and taste!
Final Thoughts
Whipping up an Ariel Little Mermaid birthday cake is not just a treat; it’s a delightful adventure! As you dive into this fun recipe, remember the joy it brings to your celebration. With simple steps and a sprinkle of creativity, you’ll create a magical masterpiece that will leave everyone smiling. So grab your ingredients, channel your inner mermaid, and enjoy every delicious bite of this enchanting cake!

ariel little mermaid birthday cake
Ingredients
Equipment
Method
- Gather your ingredients and tools to embark on this magical baking adventure!
- Set your oven to 350°F (175°C) and let it warm up while you prepare the batter.
- In a large bowl, mix 2 cups of all-purpose flour, 1 ½ cups of sugar, 1 cup of unsalted butter, and 4 eggs.
- Stir in 1 cup of milk, 2 teaspoons of vanilla extract, and a pinch of salt for a delightful taste.
- Divide the batter into three bowls and tint one blue, one green, and leave one plain for ocean waves!
- In a greased cake pan, alternate pouring the colored batters to create a beautiful layered effect.
- Place the pan in the oven and bake for 25-30 minutes, or until a toothpick comes out clean.
- Once baked, let the cake cool in the pan for 10 minutes, then transfer it to a wire rack.
- In a bowl, beat 1 cup of unsalted butter with 4 cups of powdered sugar and 2 tablespoons of milk until fluffy.
- Divide the frosting into three bowls and color one blue, one green, and leave one white for the waves.
- Spread the blue frosting on the top and green on the sides, creating an ocean-like appearance.
- Add Ariel-themed decorations like edible pearls, seashells, and little mermaid figures for a magical touch!
- Slice the cake, serve it to your guests, and watch their faces light up with joy!

