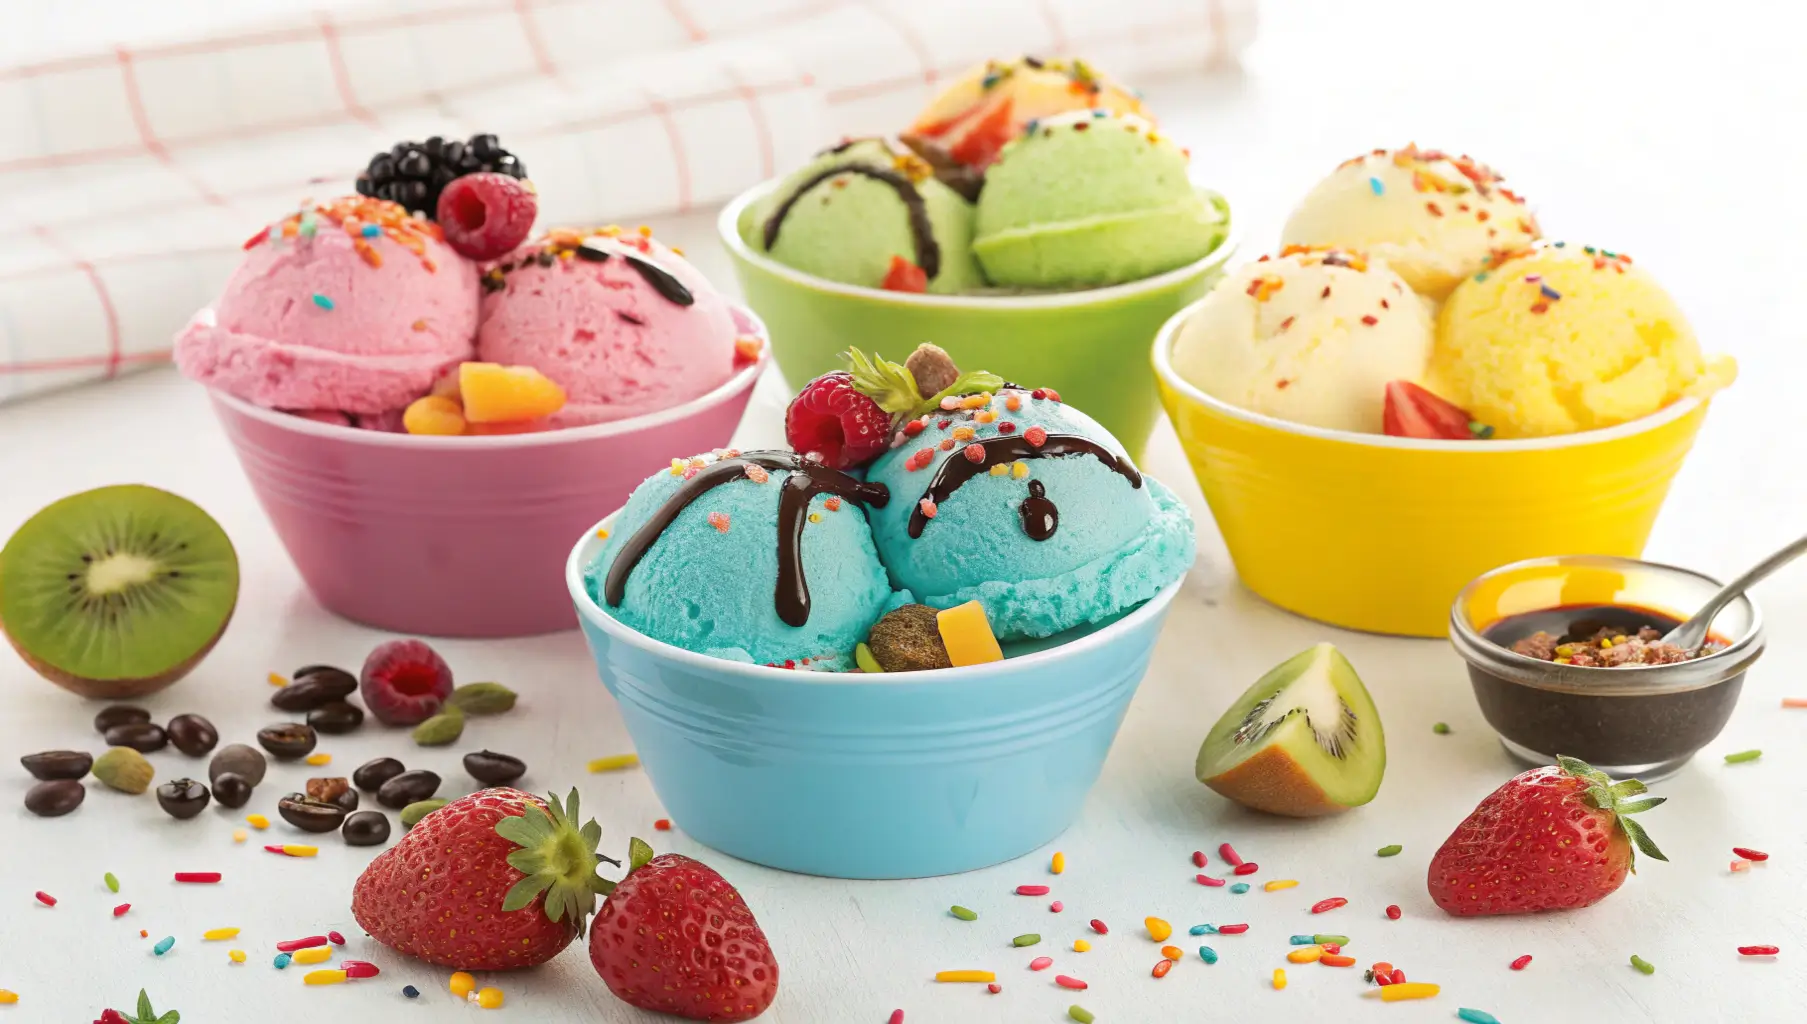
Get ready to indulge in the creamiest, dreamiest ice cream you can whip up at home! With the Ninja Creami, you can create delightful flavors that will make your taste buds dance. Think luscious chocolate peanut butter swirl or refreshing strawberry banana bliss—each scoop is a little piece of heaven. Plus, you can easily swap in your favorite dairy-free alternatives or sweeteners to make it just right for you. So grab your Ninja Creami and let’s turn those cravings into a delicious reality that everyone will love! ninja creami ice cream recipes
Table of Contents
Why You’ll Love This Recipe
- Trust me, you’re going to love this creamy texture!
- It’s super easy to customize with your favorite flavors.
- This one’s a game-changer for healthy dessert lovers!
- Perfect for kids and adults alike—everyone will be asking for seconds!
- Say goodbye to store-bought ice cream; homemade is where it’s at!
Recipe Snapshot
| Feature | Details |
|---|---|
| Category | Side Dish |
| Cuisine | American-inspired comfort food |
| Prep Time | 10 minutes |
| Cook Time | 15 minutes |
| Total Time | 25 minutes |
| Dietary | Vegetarian |
| Serves | 4 |
| Best Served | Hot and cheesy right off the cob! |
Ingredients
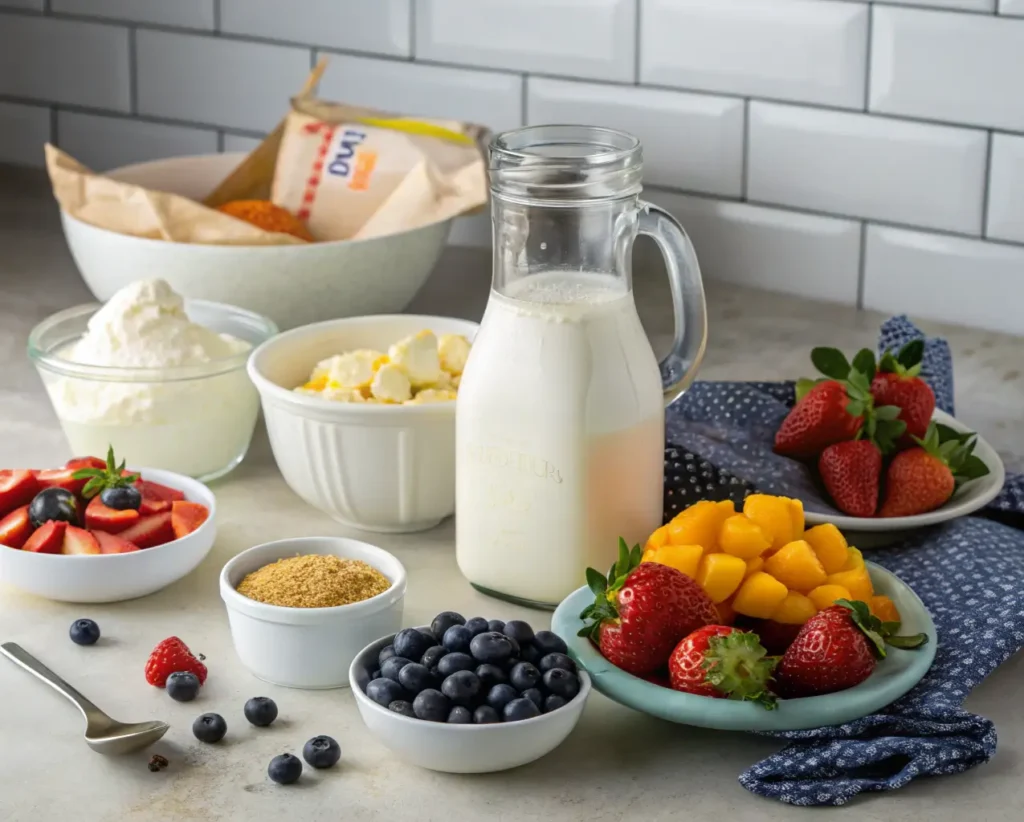
- Heavy Cream – adds richness and creaminess to your ice cream.
- Whole Milk – balances the texture and flavor for a smooth finish.
- Granulated Sugar – sweetens your ice cream and enhances flavors.
- Vanilla Extract – infuses a classic flavor that complements any recipe.
- Salt – enhances sweetness and balances flavors.
- Fruit Puree – provides natural sweetness and vibrant flavors.
- Cocoa Powder – adds a rich chocolate flavor to your creations.
- Nut Butters – introduces creaminess and a nutty flavor profile.
- Yogurt – adds tanginess and a lighter texture to your ice cream.
- Sweetened Condensed Milk – creates a creamy, sweet base without the need for additional sugar.
Ingredients with measurements will be right under the article in the recipe card.
How to Make the Recipe
Get ready to whip up some delicious ninja creami ice cream recipes! Follow these fun and easy steps to create your own epic treats.
Step 1: Gather Your Ingredients
Collect all your ingredients. You’ll need your favorite fruits, cream, milk, sweeteners, and any mix-ins you love!
Step 2: Prepare the Base
In a mixing bowl, combine your cream and milk. Add sweeteners to taste. Blend until smooth and creamy.
Step 3: Add Flavor
Mix in your chosen fruits or flavorings. For a chocolate twist, add cocoa powder or chocolate syrup!
Step 4: Pour into the Container
Carefully pour your mixture into the Ninja Creami container. Don’t fill it to the brim; leave some space for expansion.
Step 5: Freeze the Mixture
Place the container in the freezer. Let it freeze for at least 24 hours for the best texture.
Step 6: Creamify Your Ice Cream
Once frozen, take the container out and insert it into the Ninja Creami. Select the ice cream setting and let it work its magic!
Step 7: Enjoy Your Creation
Once done, scoop out your creamy delight. Add toppings like sprinkles or nuts, and dig in! “ninja creami ice cream recipes”
Pro Tips for Making the Recipe
• Use ripe fruits for natural sweetness and better flavor.
• Chill your base mixture for at least 2 hours before processing.
• Experiment with mix-ins like nuts or chocolate chips for added texture.
• Don’t overfill the Ninja Creami; leave space for expansion.
• Allow the ice cream to soften for a few minutes before scooping for easier serving.
How to Serve
Delight in your ninja creami ice cream recipes creations with these fun serving suggestions!
- Top with fresh berries for a fruity burst.
- Drizzle with chocolate or caramel sauce for extra sweetness.
- Serve in waffle cones for a classic treat.
- Pair with homemade cookies for a delightful sandwich.
- Garnish with crushed nuts for added crunch.
- Mix in sprinkles for a festive touch.
- Layer with yogurt for a creamy parfait.
- Blend into smoothies for a refreshing twist.
- Enjoy with a scoop of sorbet for a flavor explosion.
- Serve alongside a slice of cake for a decadent dessert.
Make Ahead and Storage
Storing Leftovers
To keep your ninja creami ice cream recipes fresh:
- Transfer leftovers to an airtight container.
- Leave a little space at the top for expansion.
- Label with the date for easy tracking.
- Store in the freezer for up to two weeks.
Freezing
To freeze your ice cream while maintaining quality:
- Use a freezer-safe container with a tight lid.
- Chill the container before adding ice cream.
- Spread the ice cream evenly to avoid air pockets.
- Freeze in a flat layer for quicker freezing.
Reheating
For the best texture and taste when reheating:
- Let the ice cream sit at room temperature for 5-10 minutes.
- Use a warm scoop to help it soften.
- Avoid microwaving, as it can alter the texture.
- Stir gently to restore creaminess if needed.
FAQs “ninja creami ice cream recipes”
What ingredients can I use for dairy-free ninja creami ice cream recipes?
You can easily make dairy-free ice cream by substituting regular milk with almond milk, coconut milk, or oat milk. These alternatives provide a creamy texture and delicious flavor, making them perfect for your ninja creami ice cream recipes.
How long does it take to freeze the mixture before using the Ninja Creami?
For best results, freeze your ice cream mixture for at least 24 hours. This allows it to become firm enough for the Ninja Creami to create that perfect, creamy texture we all love. ninja creami ice cream recipes
Can I add mix-ins to my ice cream after it’s been processed?
Absolutely! After processing your ice cream in the Ninja Creami, you can fold in your favorite mix-ins like chocolate chips, nuts, or fruit. This adds a delightful crunch and extra flavor to your treat. ninja creami ice cream recipes
What should I do if my ice cream is too hard after freezing?
If your ice cream turns out too hard, simply let it sit at room temperature for a few minutes before processing it again in the Ninja Creami. This will soften it up and make it easier to scoop and enjoy!
Final Thoughts
There you have it—delicious Ninja Creami ice cream recipes that are sure to bring a smile to your face! Whether you’re indulging in a creamy chocolate delight or a fruity sorbet, each scoop is a little moment of joy. So grab your Ninja Creami, gather your favorite ingredients, and let the fun begin! Enjoy the simplicity and satisfaction of making your own frozen treats—happy scooping!
ninja creami ice cream recipes

Discover delightful ninja creami ice cream recipes that will satisfy your sweet tooth! 🍦 Easy steps to create creamy, dreamy treats!
Base Ingredients
- 2 cups Heavy Cream (Adds richness and creaminess.)
- 1 cup Whole Milk (Balances texture and flavor.)
Flavoring Ingredients
- 3/4 cup Granulated Sugar (Sweetens the ice cream.)
- 1 teaspoon Vanilla Extract (Infuses classic flavor.)
- 1/4 teaspoon Salt (Enhances sweetness.)
Optional Add-ins
- 1 cup Fruit Puree (Provides natural sweetness.)
- 1/2 cup Cocoa Powder (Adds rich chocolate flavor.)
- 1/2 cup Nut Butters (Introduces creaminess.)
- 1/2 cup Yogurt (Adds tanginess.)
- 1/2 cup Sweetened Condensed Milk (Creates a creamy base.)
Step 1: Gather Your Ingredients
Collect all your ingredients. You’ll need your favorite fruits, cream, milk, sweeteners, and any mix-ins you love!
Step 2: Prepare the Base
In a mixing bowl, combine your cream and milk. Add sweeteners to taste. Blend until smooth and creamy.
Step 3: Add Flavor
Mix in your chosen fruits or flavorings. For a chocolate twist, add cocoa powder or chocolate syrup!
Step 4: Pour into the Container
Carefully pour your mixture into the Ninja Creami container. Don’t fill it to the brim; leave some space for expansion.
Step 5: Freeze the Mixture
Place the container in the freezer. Let it freeze for at least 24 hours for the best texture.
Step 6: Creamify Your Ice Cream
Once frozen, take the container out and insert it into the Ninja Creami. Select the ice cream setting and let it work its magic!
Step 7: Enjoy Your Creation
Once done, scoop out your creamy delight. Add toppings like sprinkles or nuts, and dig in!