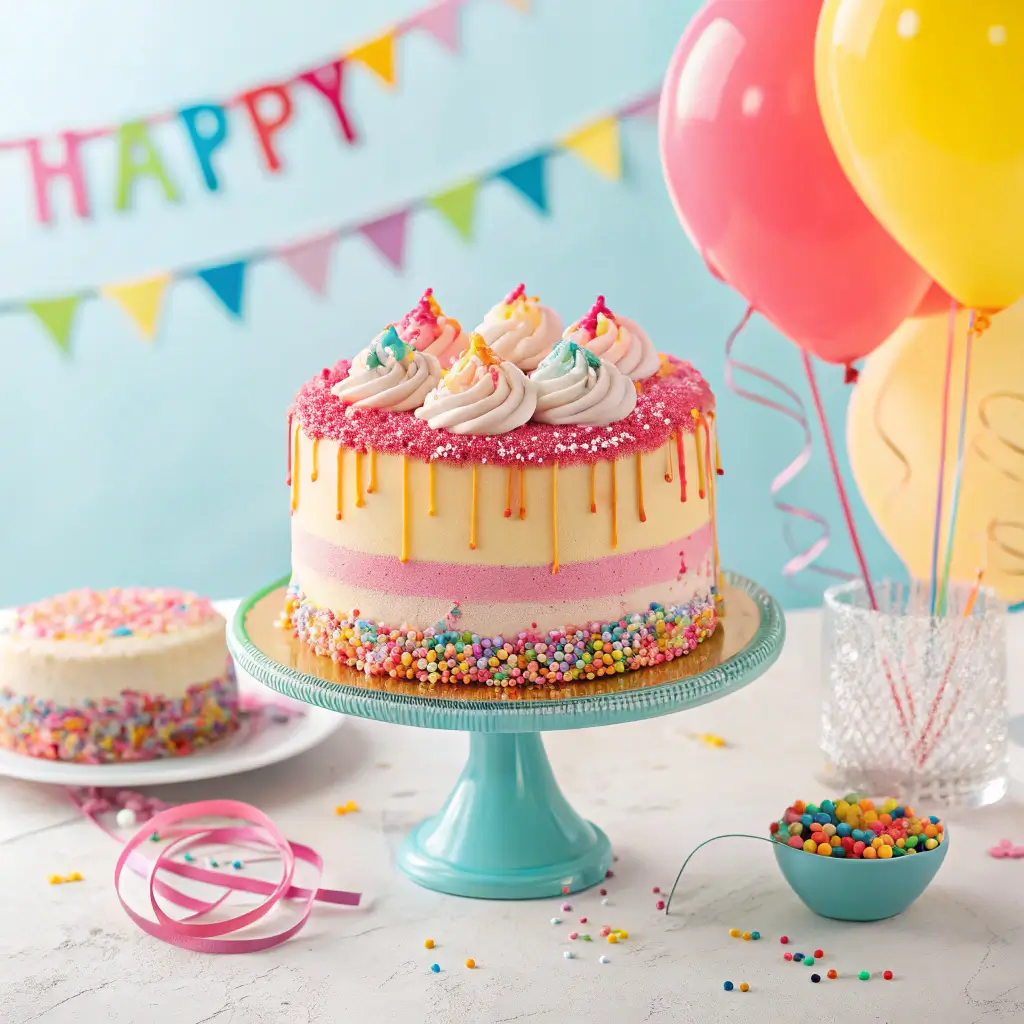
Happy cake is a delightful treat that brings smiles to every gathering! This fluffy, moist cake is infused with the sweetness of vanilla and a hint of zesty lemon, making each bite a burst of joy. Topped with a creamy, dreamy frosting that’s as light as a cloud, it’s perfect for birthdays, celebrations, or just because! With colorful sprinkles dancing on top, this cake is not just a dessert; it’s a celebration on a plate. Gather your loved ones and indulge in this cheerful creation that promises to brighten any day!
Table of Contents
Why You’ll Love This Recipe
- This cake brings a burst of joy to any celebration.
- It’s incredibly easy to make, even for beginners.
- Everyone can enjoy it—it’s nut-free and can be made dairy-free!
- Customize it with your favorite flavors and toppings.
- Perfect for sharing with friends and family, creating sweet memories.
Recipe Snapshot
| Feature | Details |
|---|---|
| Category: | Dessert |
| Cuisine: | International |
| Prep Time: | 20 minutes |
| Cook Time: | 30 minutes |
| Total Time: | 50 minutes |
| Dietary: | Vegetarian |
| Serves: | 8 |
| Best Served: | With whipped cream or fresh fruits |
Ingredients

- All-purpose flour – a key ingredient for structure and texture.
- Sugar – adds sweetness and helps with browning.
- Baking powder – provides leavening for a light, fluffy cake.
- Salt – enhances flavor and balances sweetness.
- Unsalted butter – adds richness and moisture; make sure it’s softened for easy mixing.
- Eggs – bind ingredients together and add moisture; use room temperature for best results.
- Milk – keeps the cake moist; you can substitute with almond or oat milk for a dairy-free option.
- Vanilla extract – infuses a lovely flavor; use pure extract for the best taste.
- Food coloring – optional, for a fun and vibrant appearance.
Ingredients with measurements will be right under the article in the recipe card.
How to Make the Recipe
Get ready to bake a cake that brings smiles! Follow these simple steps to create your very own happy cake.
Step 1: Gather Your Ingredients
Collect all the ingredients: flour, sugar, baking powder, salt, eggs, milk, vegetable oil, vanilla extract, and colorful sprinkles.
Step 2: Preheat the Oven
Preheat your oven to 350°F (175°C) so it’s nice and warm when your batter is ready.
Step 3: Mix Dry Ingredients
In a large bowl, whisk together flour, sugar, baking powder, and salt until well combined.
Step 4: Combine Wet Ingredients
In another bowl, beat the eggs, then add milk, vegetable oil, and vanilla extract. Mix until smooth.
Step 5: Combine Mixtures
Pour the wet mixture into the dry ingredients. Stir gently until just combined; don’t overmix!
Step 6: Add Sprinkles
Fold in a handful of colorful sprinkles to make your cake extra cheerful.
Step 7: Prepare the Baking Pan
Grease and flour your cake pan to prevent sticking. You can also line it with parchment paper.
Step 8: Pour Batter into Pan
Carefully pour the batter into the prepared pan, spreading it evenly.
Step 9: Bake the Cake
Place the pan in the oven and bake for 25-30 minutes, or until a toothpick comes out clean.
Step 10: Cool the Cake
Once baked, let the cake cool in the pan for 10 minutes, then transfer it to a wire rack to cool completely.
Step 11: Frost and Decorate
Once cool, frost with your favorite icing and add more sprinkles on top for that happy touch!
Step 12: Serve and Enjoy
Slice your happy cake, serve it to friends and family, and watch the smiles appear!
Pro Tips for Making the Recipe
•Use room temperature ingredients for a smoother batter.
•Don’t overmix; mix just until combined for a light texture.
•Add a splash of vanilla extract for extra flavor.
•Decorate with fresh fruits or edible flowers for a cheerful touch.
•Let the cake cool completely before frosting to prevent melting.
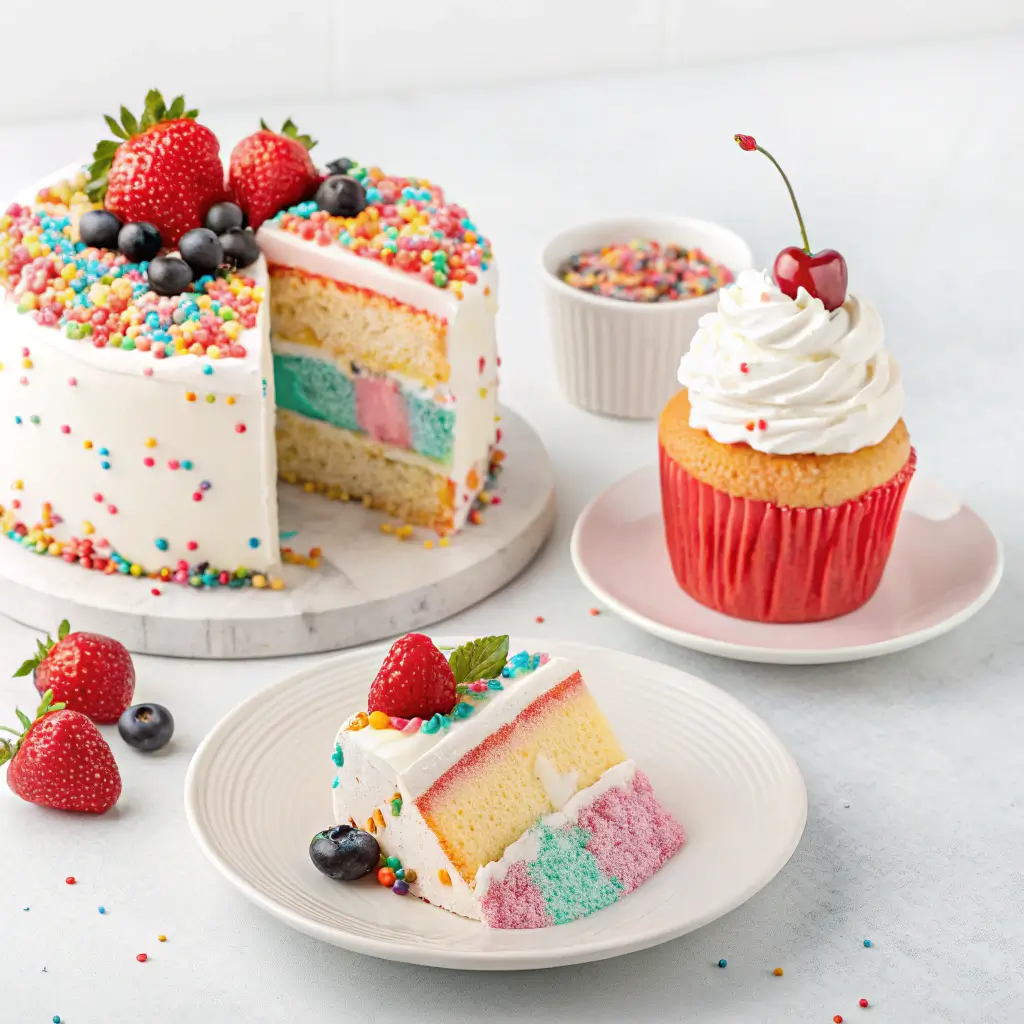
How to Serve
Here are some delightful ways to serve your happy cake:
- Top with a generous dollop of whipped coconut cream.
- Sprinkle colorful edible confetti for a festive touch.
- Pair with fresh berries like strawberries or blueberries.
- Serve alongside a scoop of vanilla or dairy-free ice cream.
- Drizzle with a homemade fruit sauce, like raspberry or mango.
- Garnish with mint leaves for a refreshing finish.
- Enjoy with a cup of herbal tea or a refreshing lemonade.
- Slice and serve on a vibrant platter for a cheerful presentation.
Make Ahead and Storage
Storing Leftovers
To keep your happy cake fresh:
- Allow the cake to cool completely.
- Wrap it tightly in plastic wrap.
- Store in an airtight container.
- Keep in the refrigerator for up to 5 days.
Freezing
For long-term storage:
- Wrap slices individually in plastic wrap.
- Place wrapped slices in a freezer-safe bag.
- Label with the date for easy tracking.
- Freeze for up to 3 months.
Reheating
To enjoy your cake again:
- Thaw in the refrigerator overnight.
- Reheat slices in the microwave for 10-15 seconds.
- For a crispier texture, warm in the oven at 350°F (175°C) for 5-10 minutes.
FAQs
What can I substitute for eggs in the Happy Cake recipe?
If you’re looking for an egg substitute, you can use unsweetened applesauce, mashed bananas, or a flaxseed meal mixed with water. Each of these options will help bind the ingredients together and keep your cake moist and delicious!
Can I make the Happy Cake gluten-free?
Absolutely! You can easily make this cake gluten-free by using a gluten-free all-purpose flour blend. Just ensure that the blend contains xanthan gum for the best texture and rise.
How can I make the Happy Cake more flavorful?
To enhance the flavor of your Happy Cake, consider adding vanilla extract, citrus zest, or even a dash of cinnamon. These ingredients can elevate the taste and make your cake even more delightful!
What’s the best way to store leftover Happy Cake?
To keep your Happy Cake fresh, store it in an airtight container at room temperature for up to three days. If you want to keep it longer, you can refrigerate it or freeze individual slices for later enjoyment!
Final Thoughts
There you have it—your very own happy cake! This delightful dessert is not just a treat; it’s a celebration of joy and togetherness. So, gather your loved ones, whip up this simple recipe, and let the laughter and sweetness fill the air. Remember, baking is all about having fun, so don’t stress—just enjoy every bite of your delicious creation. Happy baking!
happy cake

Bake a delightful happy cake that brings smiles to every occasion! Follow our easy recipe for a joyful dessert experience. 🎂✨
- Large bowl
- medium bowl
- Cake pan
- Whisk
- Spatula
Dry Ingredients
- 2 cups all-purpose flour (A key ingredient for structure and texture.)
- 1.5 cups sugar (Adds sweetness and helps with browning.)
- 2 teaspoons baking powder (Provides leavening for a light, fluffy cake.)
- 0.5 teaspoon salt (Enhances flavor and balances sweetness.)
Wet Ingredients
- 0.5 cups unsalted butter (Adds richness and moisture; softened for easy mixing.)
- 3 large eggs (Bind ingredients together and add moisture; use room temperature for best results.)
- 1 cup milk (Keeps the cake moist; can substitute with almond or oat milk.)
- 2 teaspoons vanilla extract (Infuses a lovely flavor; use pure extract for the best taste.)
- optional as needed food coloring (For a fun and vibrant appearance.)
- as needed handful colorful sprinkles (To make your cake extra cheerful.)
Gather Your Ingredients
Collect all the ingredients: flour, sugar, baking powder, salt, eggs, milk, vegetable oil, vanilla extract, and colorful sprinkles.
Preheat the Oven
Preheat your oven to 350°F (175°C) so it’s nice and warm when your batter is ready.
Mix Dry Ingredients
In a large bowl, whisk together flour, sugar, baking powder, and salt until well combined.
Combine Wet Ingredients
In another bowl, beat the eggs, then add milk, vegetable oil, and vanilla extract. Mix until smooth.
Combine Mixtures
Pour the wet mixture into the dry ingredients. Stir gently until just combined; don’t overmix!
Add Sprinkles
Fold in a handful of colorful sprinkles to make your cake extra cheerful.
Prepare the Baking Pan
Grease and flour your cake pan to prevent sticking. You can also line it with parchment paper.
Pour Batter into Pan
Carefully pour the batter into the prepared pan, spreading it evenly.
Bake the Cake
Place the pan in the oven and bake for 25-30 minutes, or until a toothpick comes out clean.
Cool the Cake
Once baked, let the cake cool in the pan for 10 minutes, then transfer it to a wire rack to cool completely.
Frost and Decorate
Once cool, frost with your favorite icing and add more sprinkles on top for that happy touch!
Serve and Enjoy
Slice your happy cake, serve it to friends and family, and watch the smiles appear!