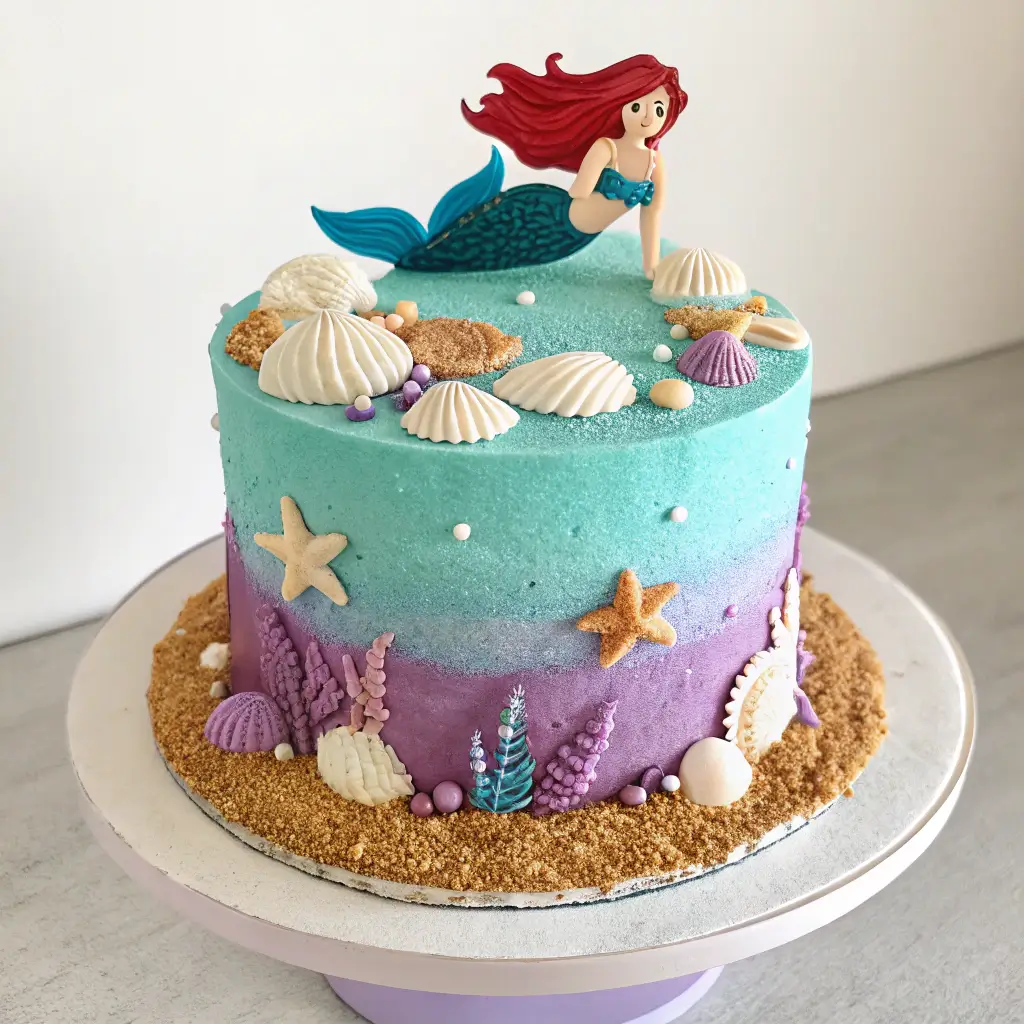
Dive into a world of enchantment with this delightful Ariel Mermaid Birthday Cake! Bursting with vibrant colors and whimsical ocean-themed decorations, this cake is a true showstopper. Fluffy vanilla layers are infused with a splash of coconut milk for a tropical twist, while a luscious blue raspberry frosting swirls like ocean waves. Adorned with shimmering edible pearls and playful mermaid tails, this cake will make any birthday celebration feel like a magical underwater adventure. Get ready to make a splash and create unforgettable memories with every delicious slice!
Table of Contents
Why You’ll Love This Recipe
- It’s a magical centerpiece for any Ariel-themed celebration.
- Delicious flavors that will delight both kids and adults alike.
- Easy-to-follow steps make baking a breeze, even for beginners.
- Customizable decorations to match your party’s theme perfectly.
- Creates unforgettable memories with every slice!
Recipe Snapshot
| Feature | Details |
|---|---|
| Category: | Dessert |
| Cuisine: | American |
| Prep Time: | 30 minutes |
| Cook Time: | 25 minutes |
| Total Time: | 55 minutes |
| Dietary: | Nut-free, Vegetarian |
| Serves: | 8-10 |
| Best Served: | At room temperature |
Ingredients
- All-purpose flour – a key ingredient for structure and texture.
- Granulated sugar – adds sweetness and moisture to the cake.
- Baking powder – helps the cake rise and become fluffy.
- Salt – enhances the flavors of the other ingredients.
- Unsalted butter – provides richness and a tender crumb.
- Eggs – binds the ingredients together and adds moisture.
- Milk – keeps the cake moist and adds flavor.
- Vanilla extract – adds a delightful aroma and flavor.
- Food coloring – for creating vibrant mermaid-themed colors.
- Buttercream frosting – perfect for decorating and adding sweetness.
- Edible glitter – adds a magical touch to your cake.
- Decorative mermaid toppers – to bring the Ariel theme to life.
Ingredients with measurements will be right under the article in the recipe card.
How to Make the Recipe
Get ready to dive into the magical world of baking with this delightful Ariel Mermaid Birthday Cake! Follow these steps for a fun and enchanting experience.
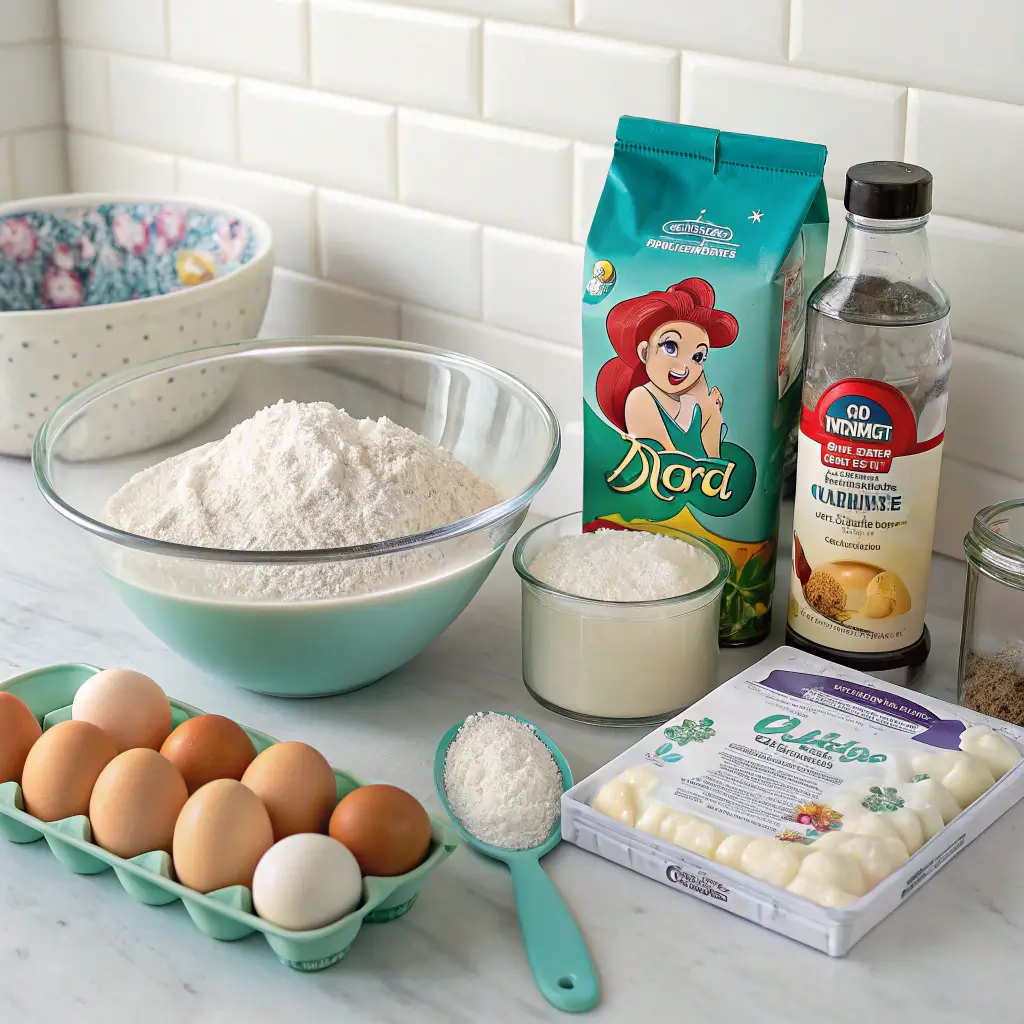
Step 1: Gather Your Ingredients
Collect all your ingredients: 2 cups of all-purpose flour, 1 ½ cups of sugar, ½ cup of unsalted butter, 1 cup of milk, 3 eggs, 2 tsp of baking powder, 1 tsp of vanilla extract, and blue and green food coloring.
Step 2: Preheat the Oven
Preheat your oven to 350°F (175°C). This will ensure your cake bakes evenly and comes out perfectly fluffy!
Step 3: Mix the Dry Ingredients
In a large bowl, whisk together the flour and baking powder. This helps to aerate the flour and ensures a light cake.
Step 4: Cream the Butter and Sugar
In another bowl, beat the butter and sugar together until light and fluffy. This usually takes about 3-5 minutes.
Step 5: Add the Eggs and Vanilla
Crack in the eggs one at a time, mixing well after each addition. Then, stir in the vanilla extract for that lovely aroma!
Step 6: Combine Wet and Dry Ingredients
Gradually add the dry mixture to the wet mixture, alternating with the milk. Mix until just combined—don’t overmix!
Step 7: Add Food Coloring
Divide the batter into two bowls. Add blue food coloring to one and green to the other. Swirl them together gently for a beautiful ocean effect.
Step 8: Bake the Cake
Pour the batter into greased cake pans and bake for 25-30 minutes. Check with a toothpick; it should come out clean!
Step 9: Cool the Cakes
Once baked, let the cakes cool in the pans for 10 minutes, then transfer them to a wire rack to cool completely.
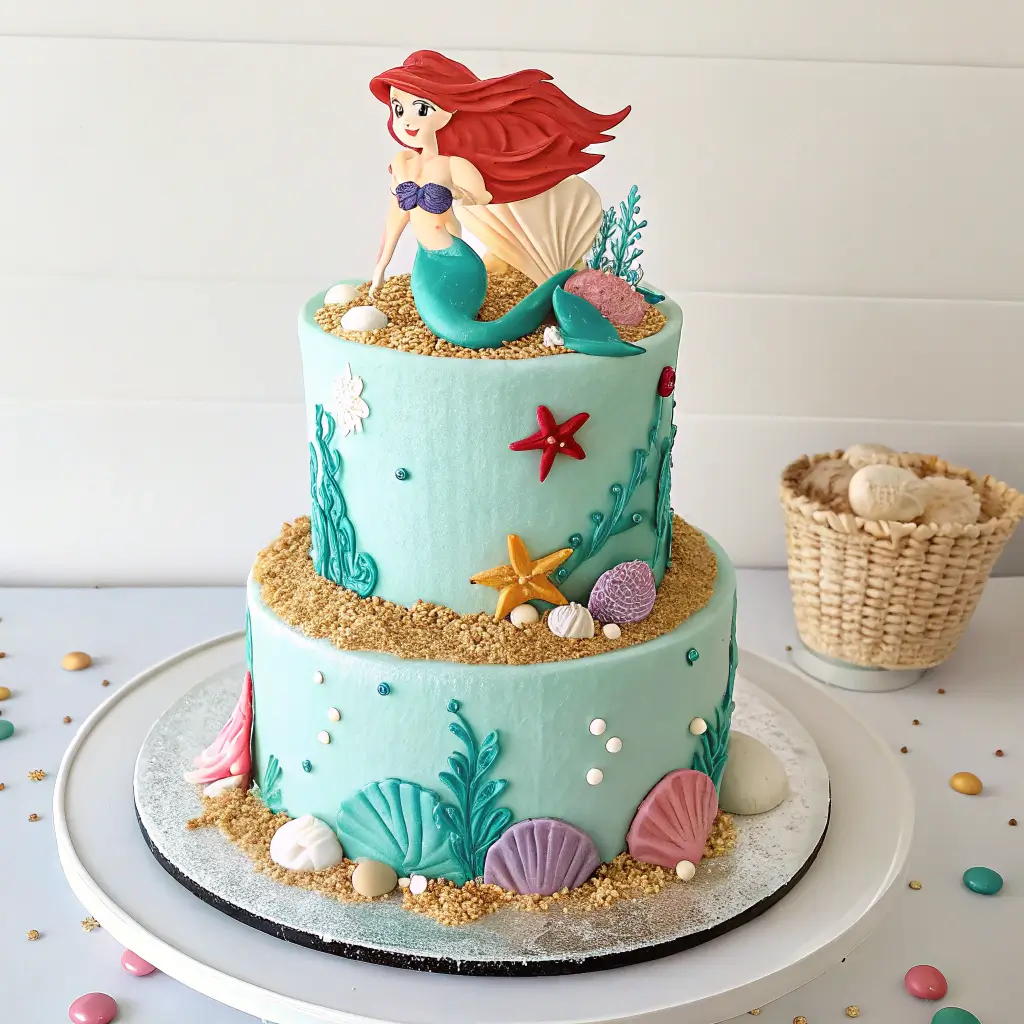
Step 10: Decorate Your Cake
Once cool, frost with blue and green buttercream. Use mermaid-themed decorations like edible pearls and seashells for that magical touch!
Step 11: Serve and Enjoy!
Slice up your stunning Ariel Mermaid Birthday Cake and watch the smiles light up the room. Enjoy every delicious bite!
Pro Tips for Making the Recipe
- Use gel food coloring for vibrant, ocean-inspired hues.
- Chill your cake layers before frosting for a smoother finish.
- Opt for a buttercream frosting for easy sculpting and decorating.
- Incorporate edible glitter for a magical, shimmering effect.
- Consider using a cake board to easily transport your masterpiece.
How to Serve
Delight your guests with these fun serving suggestions!
- Pair with ocean-themed cupcakes for a sweet spread.
- Serve with colorful fruit skewers for a refreshing touch.
- Offer a side of blue raspberry lemonade for a splash of color.
- Include mermaid-themed party hats for added fun.
- Use seashell-shaped plates for a whimsical presentation.
- Top slices with whipped cream and edible glitter for sparkle.
- Set up a DIY ice cream bar for a cool treat option.
- Complement with a treasure chest filled with candy for extra sweetness.
Make Ahead and Storage
Storing leftovers properly ensures your Ariel Mermaid Birthday Cake stays fresh and delicious.
Storing Leftovers
• Allow the cake to cool completely before storing.
• Wrap individual slices in plastic wrap or aluminum foil.
• Place wrapped slices in an airtight container.
• Store in the refrigerator for up to 3 days.
Freezing
• Wrap the entire cake or slices tightly in plastic wrap.
• Add a layer of aluminum foil for extra protection.
• Label with the date and type of cake.
• Freeze for up to 2 months for best quality.
Reheating
• Thaw the cake in the refrigerator overnight.
• For individual slices, reheat in the microwave for 10-15 seconds.
• Alternatively, warm in the oven at 350°F (175°C) for 5-10 minutes.
• Enjoy warm for the best texture and taste!
FAQs
What ingredients do I need for an Ariel Mermaid Birthday Cake?
To create a delightful Ariel Mermaid Birthday Cake, you’ll need basic cake ingredients like flour, sugar, eggs, and butter. For the mermaid theme, consider using blue and green food coloring, edible glitter, and ocean-themed decorations like seashells and starfish. Don’t forget to use a non-alcoholic vanilla extract for flavor!
How can I make the cake more visually appealing?
To enhance the visual appeal, use a combination of buttercream frosting and fondant. You can create waves with the frosting and add fondant decorations shaped like Ariel, seashells, and seaweed. Edible glitter can give it a magical touch, making it look like an underwater paradise!
Can I make this cake ahead of time?
Absolutely! You can bake the cake a day or two in advance. Just make sure to wrap it tightly in plastic wrap to keep it fresh. Frosting can also be prepared ahead of time and stored in the fridge. Assemble the cake on the day of the celebration for the best presentation!
What are some good substitutes for common allergens?
If you’re looking for allergen-friendly options, consider using gluten-free flour for those with gluten sensitivities. For dairy-free needs, substitute butter with coconut oil or a dairy-free margarine. You can also use applesauce or mashed bananas as egg replacements in your cake batter!
Final Thoughts
Whipping up an Ariel Mermaid Birthday Cake is not just about baking; it’s about creating magical memories! With its vibrant colors and whimsical design, this cake is sure to bring smiles and spark joy at any celebration. So gather your ingredients, unleash your inner mermaid, and dive into this delightful adventure. Enjoy every slice, and remember, the best part is sharing it with loved ones!
ariel mermaid birthday cake
Celebrate with a stunning ariel mermaid birthday cake! Dive into a world of flavor and fun with this enchanting recipe! 🎂🌊
- Cake pans
- Large bowl
- Mixer
- Whisk
- Spatula
Dry Ingredients
- 2 cups All-purpose flour (A key ingredient for structure and texture.)
- 2 tsp Baking powder (Helps the cake rise and become fluffy.)
- 1 tsp Salt (Enhances the flavors of the other ingredients.)
Wet Ingredients
- 1.5 cups Granulated sugar (Adds sweetness and moisture to the cake.)
- 0.5 cups Unsalted butter (Provides richness and a tender crumb.)
- 3 large Eggs (Binds the ingredients together and adds moisture.)
- 1 cup Milk (Keeps the cake moist and adds flavor.)
- 1 tsp Vanilla extract (Adds a delightful aroma and flavor.)
- As needed drops Food coloring (For creating vibrant mermaid-themed colors.)
Decorations
- As needed cups Buttercream frosting (Perfect for decorating and adding sweetness.)
- As needed sprinkles Edible glitter (Adds a magical touch to your cake.)
- As needed pieces Decorative mermaid toppers (To bring the Ariel theme to life.)
Preparation Steps
Step 1: Gather Your Ingredients – Collect all your ingredients: 2 cups of all-purpose flour, 1 ½ cups of sugar, ½ cup of unsalted butter, 1 cup of milk, 3 eggs, 2 tsp of baking powder, 1 tsp of vanilla extract, and blue and green food coloring.
Step 2: Preheat the Oven – Preheat your oven to 350°F (175°C). This will ensure your cake bakes evenly and comes out perfectly fluffy!
Step 3: Mix the Dry Ingredients – In a large bowl, whisk together the flour and baking powder. This helps to aerate the flour and ensures a light cake.
Step 4: Cream the Butter and Sugar – In another bowl, beat the butter and sugar together until light and fluffy. This usually takes about 3-5 minutes.
Step 5: Add the Eggs and Vanilla – Crack in the eggs one at a time, mixing well after each addition. Then, stir in the vanilla extract for that lovely aroma!
Step 6: Combine Wet and Dry Ingredients – Gradually add the dry mixture to the wet mixture, alternating with the milk. Mix until just combined—don’t overmix!
Step 7: Add Food Coloring – Divide the batter into two bowls. Add blue food coloring to one and green to the other. Swirl them together gently for a beautiful ocean effect.
Step 8: Bake the Cake – Pour the batter into greased cake pans and bake for 25-30 minutes. Check with a toothpick; it should come out clean!
Step 9: Cool the Cakes – Once baked, let the cakes cool in the pans for 10 minutes, then transfer them to a wire rack to cool completely.
Step 10: Decorate Your Cake – Once cool, frost with blue and green buttercream. Use mermaid-themed decorations like edible pearls and seashells for that magical touch!
Step 11: Serve and Enjoy! – Slice up your stunning Ariel Mermaid Birthday Cake and watch the smiles light up the room. Enjoy every delicious bite!