
Ninja Creami recipe is your ticket to a world of creamy, dreamy desserts that will tantalize your taste buds! Imagine velvety ice creams bursting with flavors like luscious strawberry, rich chocolate, or refreshing mint, all made effortlessly in your Ninja Creami. With simple ingredients like ripe bananas, creamy coconut milk, and a splash of vanilla extract, you can whip up delightful treats that are both indulgent and guilt-free. Perfect for warm days or cozy nights, this recipe is sure to bring smiles and sweet memories to every scoop!
Table of Contents
Why You’ll Love This Recipe
- Indulge in creamy, dreamy textures that melt in your mouth.
- Customize flavors to match your cravings—endless possibilities!
- Quick and easy preparation means more time to enjoy.
- Healthy ingredients make guilt-free indulgence a reality.
- Perfect for impressing friends and family at gatherings.
Recipe Snapshot
| Feature | Details |
|---|---|
| Category: | Dessert |
| Cuisine: | American |
| Prep Time: | 10 minutes |
| Cook Time: | 0 minutes |
| Total Time: | 10 minutes + freezing |
| Dietary: | Gluten-free, Dairy-free |
| Serves: | 4 |
| Best Served: | Chilled |
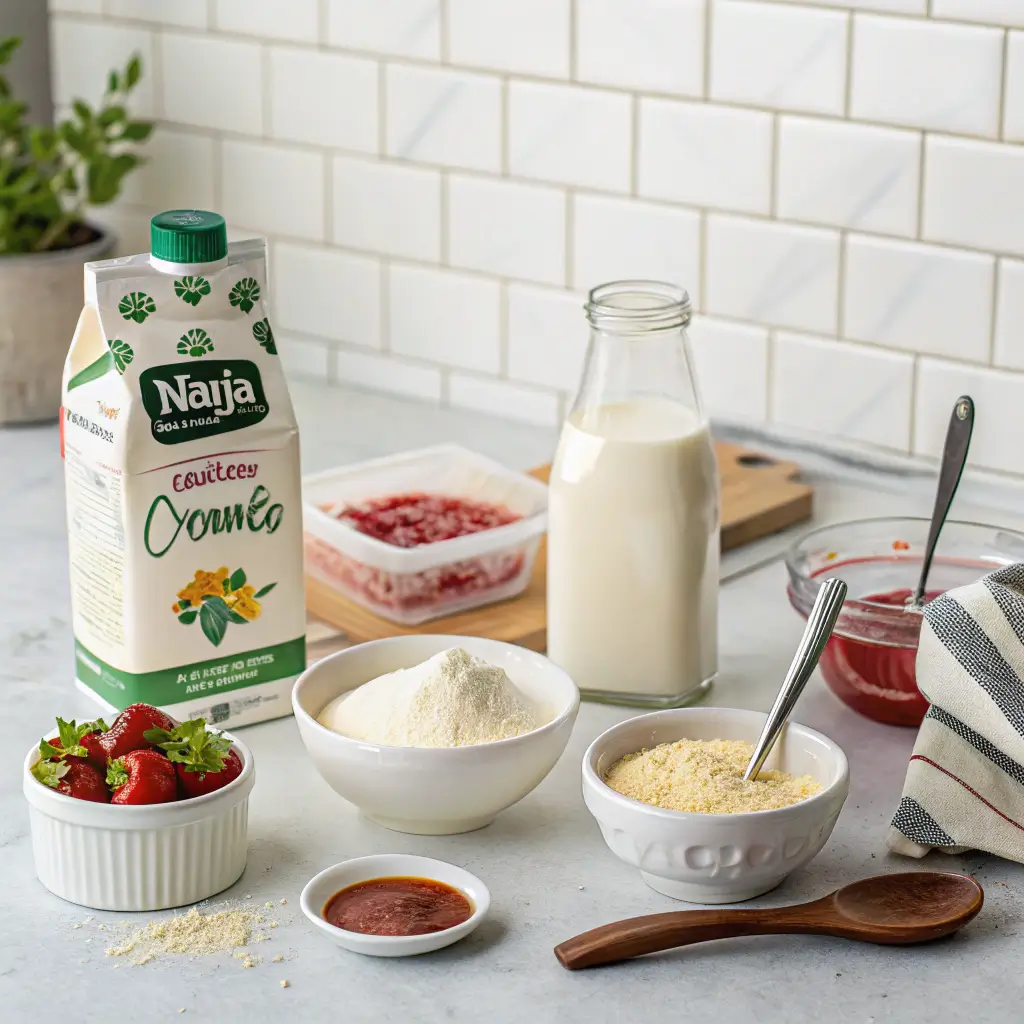
Ingredients
- Heavy Cream – adds richness and creaminess to your dessert.
- Whole Milk – balances the texture and flavor for a smooth result.
- Granulated Sugar – sweetens your mixture; adjust to taste.
- Vanilla Extract – enhances the overall flavor profile.
- Fruit Puree – provides natural sweetness and vibrant color.
- Cocoa Powder – for a chocolatey twist; use unsweetened for best results.
- Nut Butter – adds creaminess and a nutty flavor; choose your favorite.
- Honey or Maple Syrup – natural sweeteners that can replace granulated sugar.
- Salt – a pinch enhances all the flavors in your recipe.
Ingredients with measurements will be right under the article in the recipe card.
How to Make the Recipe
Get ready to create a delicious Ninja Creami treat that will make your taste buds dance with joy!
Step 1: Gather Your Ingredients
Collect all the ingredients you need: frozen fruits, yogurt or a dairy-free alternative, sweetener, and any flavorings you love.
Step 2: Prepare Your Base
In a mixing bowl, combine your frozen fruits with yogurt and sweetener. Blend until smooth and creamy.
Step 3: Pour into the Container
Transfer the creamy mixture into the Ninja Creami container. Make sure it’s filled to the fill line for the best results.
Step 4: Freeze the Mixture
Place the container in the freezer for at least 24 hours. Patience is key for that perfect texture!
Step 5: Creamify Your Treat
After freezing, remove the container and attach it to the Ninja Creami base. Select the “Ice Cream” function and let it work its magic!
Step 6: Enjoy Your Creation
Once done, scoop out your delightful treat and serve it in a bowl. Add toppings like nuts or chocolate chips for extra fun!
Pro Tips for Making the Recipe
• Use frozen fruit for a creamier texture and enhanced flavor.
• Experiment with different sweeteners like honey or maple syrup for a unique twist.
• Let your mixture chill for at least 4 hours before processing for the best results.
• Don’t be afraid to mix flavors; combine your favorite fruits for a delicious blend.
• Always clean your Ninja Creami thoroughly after each use to maintain its performance.
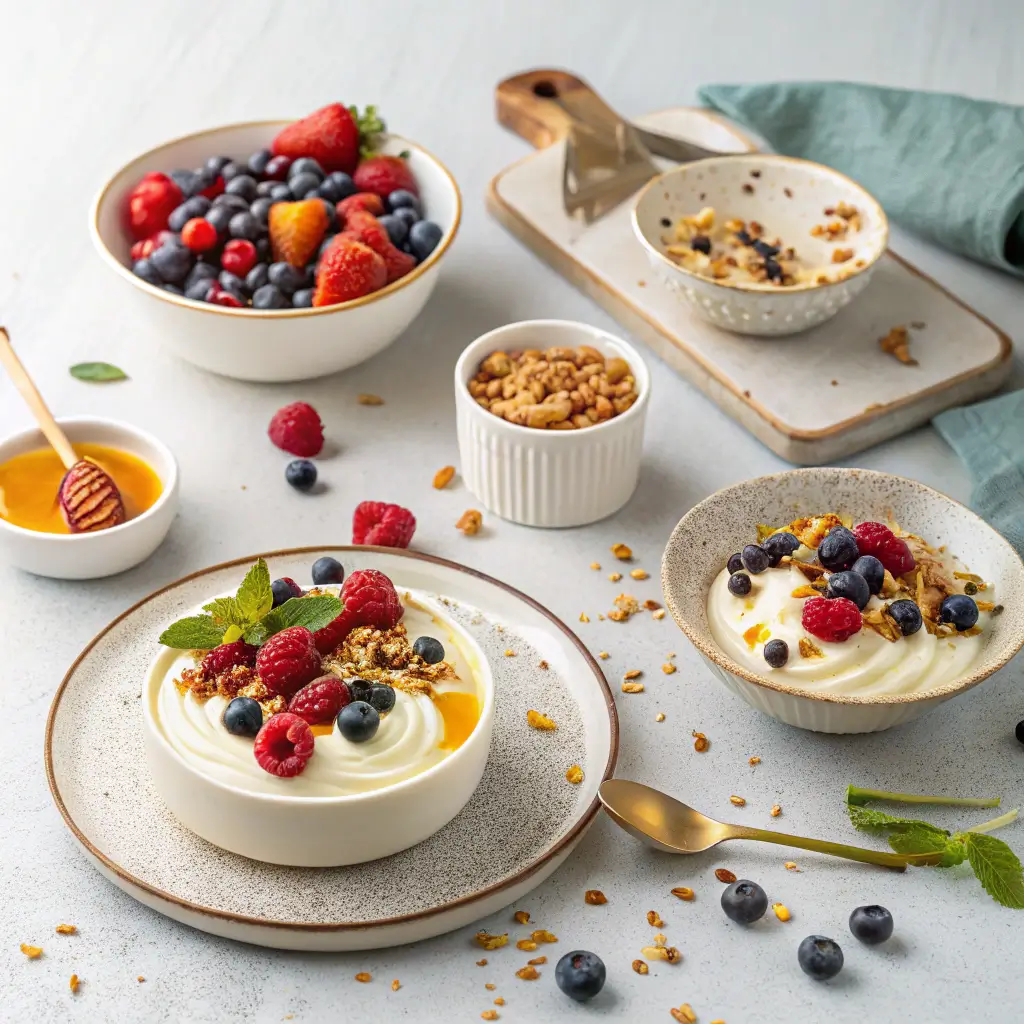
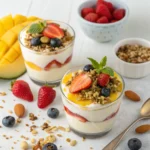
How to Serve
Here are some fun and creative ways to enjoy your Ninja Creami creation:
- Top with fresh berries for a burst of flavor.
- Drizzle with honey or maple syrup for added sweetness.
- Serve alongside a scoop of granola for a crunchy texture.
- Pair with a dollop of whipped coconut cream for a tropical twist.
- Mix in some chopped nuts for a delightful crunch.
- Enjoy with a sprinkle of cinnamon or cocoa powder for extra flair.
- Blend in your favorite nut butter for a rich, creamy finish.
- Use as a filling for crepes or pancakes for a fun breakfast treat.
Make Ahead and Storage
Proper storage ensures your Ninja Creami recipe stays fresh and delicious!
Storing Leftovers
- Allow the dish to cool completely before storing.
- Transfer to an airtight container.
- Label with the date for easy tracking.
- Store in the refrigerator for up to 3 days.
Freezing
- Use freezer-safe containers or bags for storage.
- Leave some space for expansion as it freezes.
- Label with the date and type of dish.
- Freeze for up to 2 months for best quality.
Reheating
- Thaw in the refrigerator overnight before reheating.
- Use a microwave or stovetop for gentle reheating.
- Add a splash of milk or cream for creaminess.
- Stir well to ensure even heating.
FAQs
What ingredients can I use for a dairy-free Ninja Creami recipe?
You can easily substitute traditional dairy ingredients with plant-based alternatives. Use almond milk, coconut cream, or cashew milk for a creamy texture without dairy. These options will keep your Ninja Creami recipe delicious and suitable for those with lactose intolerance.
How can I make my Ninja Creami recipe sweeter?
If you prefer a sweeter treat, consider adding natural sweeteners like honey, maple syrup, or agave nectar. You can also use ripe bananas or dates for added sweetness without refined sugars. Just adjust the amount to your taste!
Can I use frozen fruits in my Ninja Creami recipe?
Absolutely! Frozen fruits work wonderfully in Ninja Creami recipes. They provide a thick and creamy consistency while enhancing the flavor. Just make sure to let them thaw slightly for easier blending.
How do I store leftovers from my Ninja Creami recipe?
To store leftovers, place them in an airtight container and keep them in the freezer. When you’re ready to enjoy them again, let them sit at room temperature for a few minutes before serving to soften up. This way, you can savor your delicious creation later!
Final Thoughts
There you have it, a delightful Ninja Creami recipe that’s as easy as pie! Remember, the joy of creating this treat is just as sweet as the first bite. So gather your ingredients, unleash your inner chef, and enjoy every creamy, dreamy spoonful. It’s time to treat yourself and share the love—because nothing brings people together like a delicious homemade dessert!
ninja creami recipe
Discover the ultimate ninja creami recipe that will tantalize your taste buds! 🍦 Create delicious frozen treats at home. Perfect for summer! 🌞
- Ninja Creami
Dairy
- 1 cup Heavy Cream (Adds richness and creaminess.)
- 1 cup Whole Milk (Balances texture and flavor.)
Sweeteners
- 1/2 cup Granulated Sugar (Adjust to taste.)
- 1 tsp Honey or Maple Syrup (Natural sweeteners.)
Flavorings
- 1 tsp Vanilla Extract (Enhances flavor profile.)
- 1/2 cup Fruit Puree (Provides natural sweetness.)
- 1/4 cup Cocoa Powder (For a chocolatey twist.)
- 2 tbsp Nut Butter (Adds creaminess and nutty flavor.)
- 1 pinch Salt (Enhances all flavors.)
Step 1: Gather Your Ingredients
Collect all the ingredients you need: frozen fruits, yogurt or a dairy-free alternative, sweetener, and any flavorings you love.
Step 2: Prepare Your Base
In a mixing bowl, combine your frozen fruits with yogurt and sweetener. Blend until smooth and creamy.
Step 3: Pour into the Container
Transfer the creamy mixture into the Ninja Creami container. Make sure it’s filled to the fill line for the best results.
Step 4: Freeze the Mixture
Place the container in the freezer for at least 24 hours. Patience is key for that perfect texture!
Step 5: Creamify Your Treat
After freezing, remove the container and attach it to the Ninja Creami base. Select the “Ice Cream” function and let it work its magic!
Step 6: Enjoy Your Creation
Once done, scoop out your delightful treat and serve it in a bowl. Add toppings like nuts or chocolate chips for extra fun!
Essential nutrition facts per serving:
| Nutrient | Amount |
|---|---|
| Calories | 250 |
| Fat | 15g |
| Protein | 5g |
| Carbs | 25g |