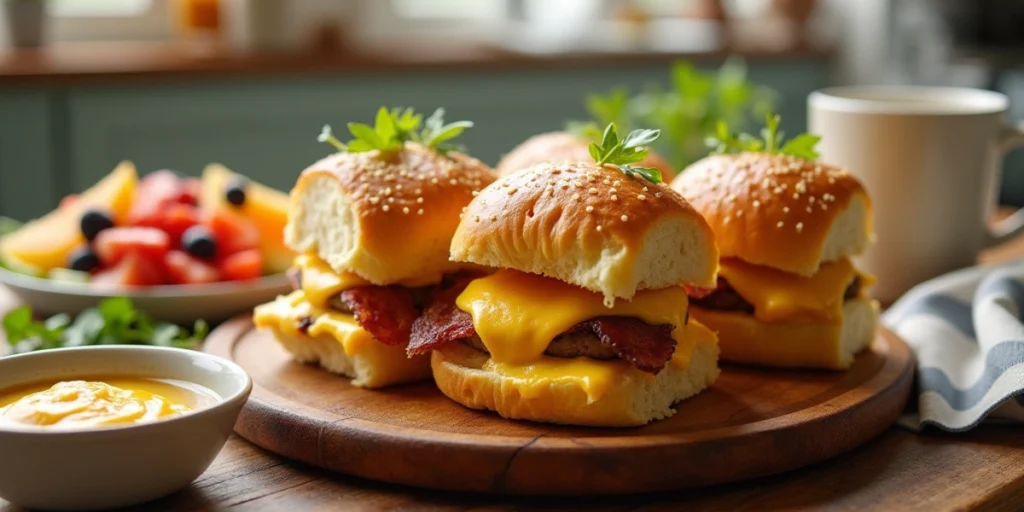
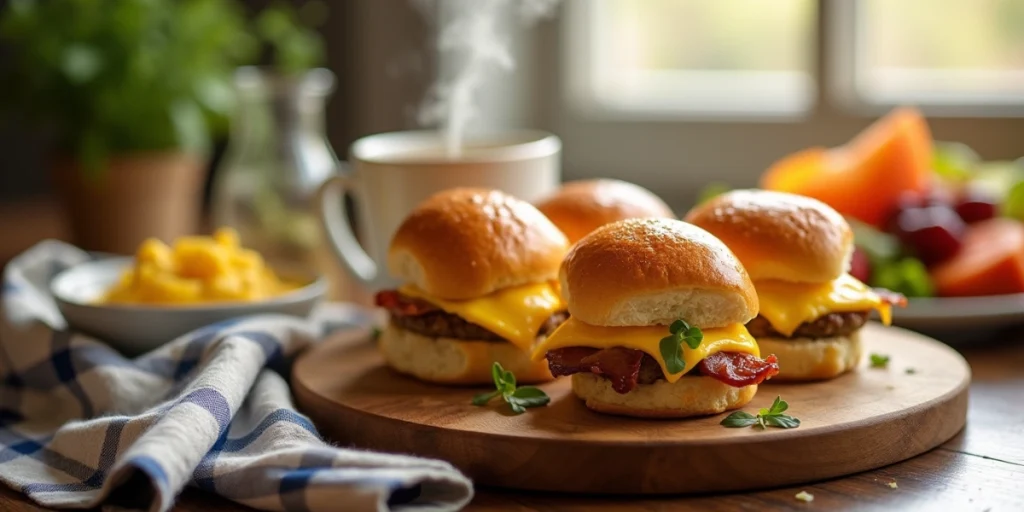
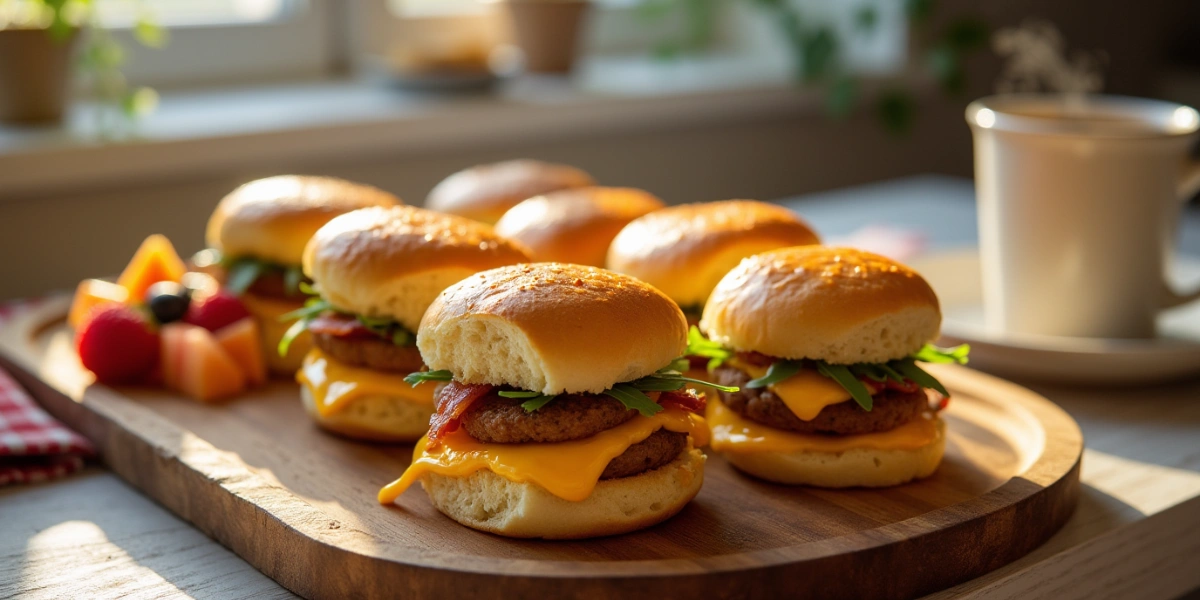
If you’ve ever wished for a breakfast that combines the best of both worlds—sweet and savory—you’re in for a treat. Breakfast slider sandwiches with Hawaiian rolls are a game-changer for mornings that need to be both quick and delicious. These mini sandwiches are packed with flavor and can be whipped up in no time, making them the perfect choice for a busy weekday breakfast or even a laid-back weekend brunch.
Table of Contents
In this guide, we’ll walk you through every step of the process—from gathering ingredients to baking your sliders to perfection. Whether you’re a novice in the kitchen or an experienced home cook, these breakfast sliders will become your go-to morning meal in no time.
Why Breakfast Slider Sandwiches with Hawaiian Rolls Are a Game-Changer
Breakfast slider sandwiches are a fantastic option for several reasons. First, they’re easy to prepare, and most of the ingredients can be found in your kitchen already. Second, the combination of sweet Hawaiian rolls and savory fillings creates an irresistible balance of flavors that’s sure to please everyone at the table. Whether you’re serving them for a family breakfast, a weekend brunch, or preparing a batch for meal prep, these sliders are versatile and crowd-pleasing.
Here’s why breakfast sliders with Hawaiian rolls are such a hit:
- Quick and Easy: You don’t need to spend hours in the kitchen. The ingredients come together fast, and the baking time is short.
- Customizable: Want to skip the bacon? Or maybe you want to add some veggies? These sliders can be adapted to suit any dietary preference or taste.
- Perfect for Groups: If you’ve got a family or friends over, breakfast sliders make it easy to serve a crowd without any hassle.
What You’ll Need to Make Breakfast Slider Sandwiches with Hawaiian Rolls
Before you get started, let’s gather all the ingredients you’ll need to make these delicious breakfast sandwiches. The beauty of this recipe is its simplicity—most of the ingredients are common items you likely already have in your fridge or pantry.
Recipe Ingredients
| Ingredient | Quantity | Notes |
|---|---|---|
| Hawaiian Rolls | 1 package | Soft and slightly sweet |
| Eggs | 6 large | Scrambled or cooked to your liking |
| Bacon or Sausage | 8 slices or patties | Crispy, cooked for best texture |
| Cheese (Cheddar or American) | 6 slices | Meltable, adds flavor |
| Butter | 2 tbsp | For brushing rolls for extra flavor |
| Salt & Pepper | To taste | Season to preference |
Optional Add-Ins
- Avocado slices: Provide a creamy texture and are a great source of healthy fats.
- Spinach or arugula: For a burst of freshness and color.
- Hot sauce or honey mustard: For an extra kick or sweetness.

Step-by-Step Instructions for Making Breakfast Slider Sandwiches
Now that you have everything you need, let’s dive into the simple, step-by-step process to create your breakfast slider sandwiches.
1. Prep Your Ingredients
The first step is to cook your fillings. This may take a few minutes, but it’s the foundation for your delicious sliders.
- Cook the Bacon or Sausage: In a large skillet, cook your bacon or sausage until crispy. If using sausage patties, make sure they’re fully cooked through.
- Scramble the Eggs: In a separate pan, scramble your eggs until they’re fluffy and cooked through. If you prefer fried eggs, you can fry them to your liking.
Once these are cooked, set them aside while you prep the rolls and cheese.
2. Assemble the Breakfast Sliders
Next, it’s time to put everything together. This is the fun part!
- Slice the Hawaiian Rolls: Without separating the individual rolls, slice the entire package of Hawaiian rolls in half. You’ll have one top and one bottom layer to work with.
- Layer the Fillings: On the bottom half of the rolls, place a slice of bacon or sausage. Follow it up with a generous serving of scrambled eggs, and then a slice of melted cheese on top.
- Top with the Other Half of Rolls: Place the top half of the rolls over the assembled fillings, pressing gently to make sure everything stays in place.
3. Bake and Finish
Now that your sliders are assembled, it’s time to bake them to perfection.
- Brush the Top with Butter: Melt 2 tablespoons of butter and brush the top of the rolls. This will give them a nice golden finish when baked.
- Bake: Place your assembled slider sandwiches in a baking dish and bake at 350°F (175°C) for 10-12 minutes. Bake until the cheese is melted, the rolls are golden brown, and the sliders are heated through.
Once they’re done, remove from the oven and let them cool for a minute before serving.
Customizing Your Breakfast Slider Sandwiches
One of the best things about these sliders is that they’re incredibly versatile. Feel free to get creative with your ingredients and tailor them to your preferences.
Meat-Free Options
If you prefer a vegetarian or vegan version, swap out the bacon or sausage for alternative proteins like veggie sausage or plant-based bacon. You can also add mushrooms, spinach, or other veggies to fill the void.
Cheese Variations
While cheddar or American cheese works wonderfully, you can experiment with other cheese varieties such as:
- Swiss: For a nutty flavor
- Pepper Jack: For a spicy twist
- Provolone: For a mild and creamy texture
Sauces & Spreads
Adding sauces can elevate your sliders from great to extraordinary. Here are some alternatives to think about:
- Hot sauce: For a little heat.
- Honey mustard: Offering a perfect balance of sweetness and tang.
- Garlic aioli: For a rich and creamy finish.
Tips for Perfect Breakfast Slider Sandwiches Every Time
A few simple tips will ensure that your sliders are always a success.
Tip #1: Don’t Overcrowd the Baking Dish
When assembling your sliders, don’t cram them into the baking dish. Leave a little space between each slider to ensure even baking. This will allow the cheese to melt thoroughly and the rolls to toast evenly.
Tip #2: Toast the Rolls for Extra Flavor
For even more flavor, you can lightly toast the inside of the Hawaiian rolls before assembling your sliders. This will give them a slightly crispy texture and prevent the buns from getting soggy during baking.
Tip #3: Make Them Ahead of Time
If you’re in a rush in the morning, you can prepare your sliders ahead of time. Assemble the sliders the night before, cover them with plastic wrap, and refrigerate. In the morning, just pop them in the oven, and you’ll have a fresh breakfast ready to go in under 15 minutes!
How to Serve and Enjoy Your Breakfast Slider Sandwiches
Breakfast slider sandwiches are great on their own, but you can easily pair them with other sides for a complete meal. Here are a few serving ideas:
- Fruit Salad: Serve with a refreshing side of fresh fruit like berries, melon, or citrus for a light and healthy balance.
- Hash Browns or Home Fries: Crispy potatoes are a classic breakfast side that pairs perfectly with these sliders.
- Smoothie: A green or fruit smoothie can be a refreshing addition to your breakfast spread.
FAQs About Breakfast Slider Sandwiches
Can I make breakfast slider sandwiches ahead of time?
Yes, you can prepare them the night before. Simply assemble the sliders, cover with plastic wrap, and refrigerate overnight. In the morning, simply toss them in the oven for a speedy breakfast.
Can I use other types of rolls?
While Hawaiian rolls add a sweet touch, you can substitute them with other soft rolls like brioche, slider buns, or even dinner rolls if you prefer.
How long do leftovers last?
Leftover breakfast slider sandwiches can be stored in an airtight container in the fridge for up to three days. For the best results, reheat them in the oven.
Can I make these sandwiches vegetarian or vegan?
Absolutely! Just swap out the meat for veggie patties, and use dairy-free cheese and egg substitutes for a vegan-friendly option.
Conclusion: Breakfast Slider Sandwiches Are a Must-Try!
Breakfast slider sandwiches with Hawaiian rolls are the perfect combination of sweet and savory, and they’re surprisingly easy to make. Whether you’re in need of a quick weekday breakfast or a fun weekend brunch idea, these sliders will become your new favorite go-to recipe. Customizable, delicious, and perfect for feeding a crowd, they’re a breakfast win every time.

Ready to give them a try? Gather your ingredients, follow the simple steps, and treat yourself to a delicious start to your day. Your taste buds will thank you!
Call to Action: Have you made these breakfast sliders before? Or do you put your own spin on this recipe? Share your thoughts and experiences in the comments below—we’d love to hear how you customize your sliders!

